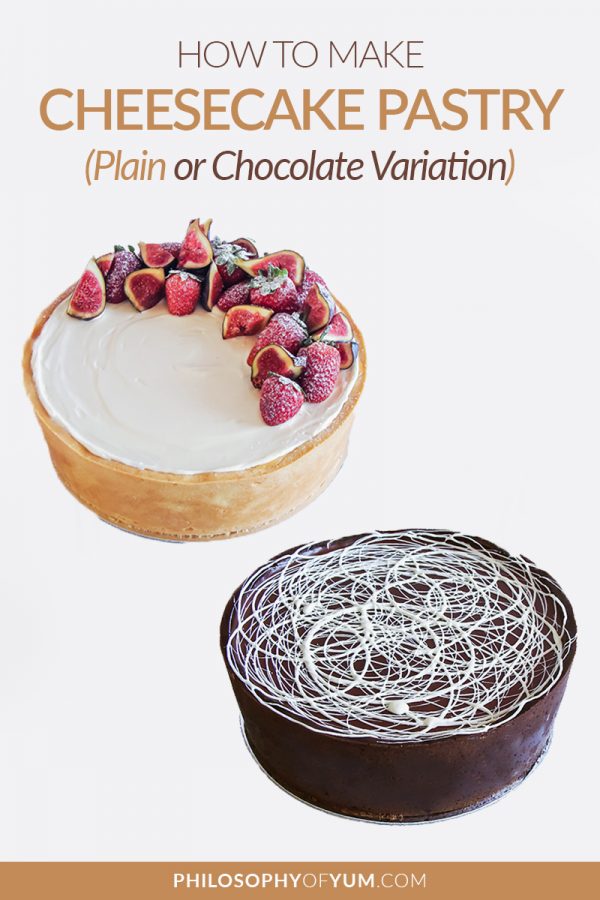
Cheesecake Pastry Recipe – With 2 Flavour Variations!
Cheesecake Pastry
Cheesecake Pastry was not something I grew up with at all! Come on, we all mostly eat cookie crust cheesecakes – and they truly are fantastic! Who can ever manage to figure out if they like cheesecake’s crust or filling more?? BOTH are super delicious.
The slightly crunchy texture of the crust along with the flawlessly smooth cheesecake filling is the highlight of Dessert World.
BUT, did you know that Cheesecake Pastry was actually the original crust used by the clever Greeks and Romans? (Read more about the history of cheesecake).
Since they are generally considered as geniuses, I always knew deep down that cheesecake pastry might be something to look into.
Honestly, my decision to start making cheesecake with a cheesecake pastry base was due to the nature of my Home Bakery. I had to figure out how to make a crust sturdy enough to handle being moved over to a disposable cake board.
Crushed cookie bases are quick to prepare, but super difficult to transfer to a different dish, serving platter, cake board etc. Typically, you leave the cheesecake on the bottom of your spring-form cake tin and use it as a “cake board”.

Problem with this idea is that I can’t exactly expect my clients to return my cake tin’s bottom. Too tedious for them and me. Cheesecake Pastry is much sturdier and still contains gorgeous butter, so you aren’t missing anything!
What Makes Cheesecake Pastry Different?
There are a few differences between cheesecake pastry and regular shortcrust pastry. Cheesecake pastry typically contains more egg, because egg is a great binding agent. It provides extra strength and stability to the pastry.
I would even go so far as to say it provides a small amount of elasticity. Shortcrust pastry, in my opinion, needs to pretty much have the texture of shortbread. I did a very thorough post on Shortcrust Pastry earlier this year.
It might be a bit unorthodox, but I like to add vanilla extract to my cheesecake pastry instead of water. It really bumps up the flavour and compliments the cheesecake so beautifully!
Perks of Using Cheesecake Pastry
- The biggest perk for me is that it protects the cheesecake during baking. It COMPLETELY eliminates the risk for over-cooked/browned/curdled edges around the cheesecake.
- It keeps the cheesecake moister during baking since the delicate cheesecake filling never touches the hot and dehydrating aluminium sides of the tin.
- As I mentioned before, it makes the finished cheesecake a BREEZE to transfer onto a cake board or cake stand without lending out your tin’s bottom.
- It really is super delicious! Since I’ve switched to cheesecake pastry, I’ve never had the desire to go back to crushed cookie bases.
- It is really not difficult at all! In a food processor, it really takes like 5 minutes. I’m going to give you step by step instructions so that you can also make your own cheesecake pastry!
*SUPER IMPORTANT!! Before you make this Cheesecake Pastry and proceed with making a Baked Cheesecake, I strongly urge you to read my post PERFECT BAKED CHEESECAKE | THE ULTIMATE GUIDE.
- 230 g All-purpose Flour (sub 40 g cocoa if making chocolate pastry)
- 75 g Pure Icing Sugar
- 130 g Salted Butter, cold and cubed
- 50 g Free-range Egg Yolks (2 egg yolks + 10g of whole beaten egg)
- ½ Tbsp Vanilla Extract
- Place flour (and cocoa powder if making choc pastry) in a food processor. Cut the butter into a 1 cm dice and add to the food processor. Try to distribute the cubes of butter evenly in the flour so that they don’t stick together.
- Process on high speed until resembling even bread crumbs.
- Add icing sugar and process for about 10 seconds on high speed.
- Add the egg yolks and vanilla. Process on high speed for about 15 seconds. The pastry will not form a ball inside the processor.

- Pour the crumbly mixture onto a work surface – do not add any extra liquid! Press all the crumbs together and press the pastry together till more or less smooth. This should take only about 3 minutes. Form the pastry into a ball and squash it flat to about 1cm thick - this helps it to chill faster.
- Wrap the pastry in cling wrap and refrigerate it for 15 minutes.
- Cut a 30 cm x 30 cm square of non-stick parchment paper. Place the chilled pastry on the paper and roll out with a lightly floured rolling pin to an EVEN 3mm thickness, roughly in a circular shape. The parchment paper makes it super easy to turn the pastry when rolling!
- Spray/butter the inside of your 9 inch (22,5 cm) tin. Place the loose bottom face side down onto the pastry. Cut around the sides of the tin’s bottom and also at 12, 3, 6 and 9 o’clock to divide the excess pastry into 4 strips.

- Remove the strips one by one and place to one side. Press down on the tin’s bottom so that the pastry squishes out slightly underneath. I find this little lip of pastry helps to combine the pastry on the sides with the pastry on the bottom.
- Flip the parchment paper and tin’s bottom. Peel away the paper.
- Drop your tin’s bottom back into your tin and fill in the sides of the tin with your pastry strips using your fingers. Do not worry about a smooth finish just yet.
- Preheat your oven to 180ᵒC/350ᵒF.
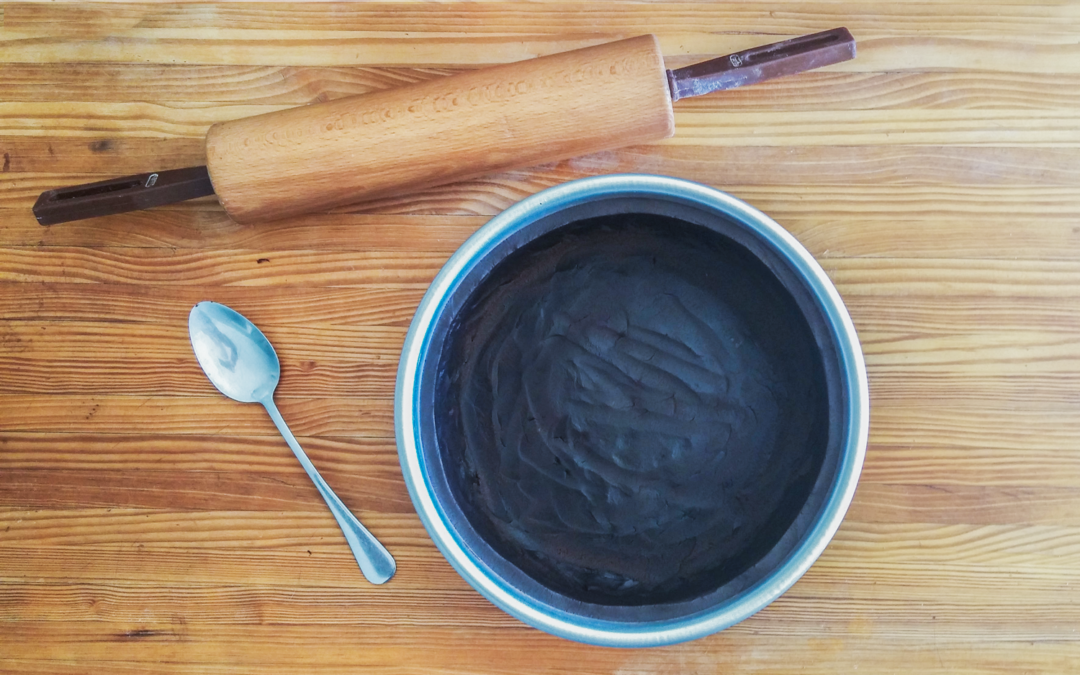
- Place your tin in the freezer for 5 minutes. Remove from freezer and smooth the edges and bottom with a metal spoon. Return to freezer for a further 10 minutes or until frozen solid.

- Cut a large piece of heavy weight foil (enough to line the bottom AND go up and over the sides.) Spray the dull side of the foil with non-stick cooking spray. Smooth the greased side of the foil directly onto the pastry. Leave no pastry exposed. Be sure to press the foil down very snugly into the corners of the cheesecake pastry. Run your finger over the top edge as well to maintain the shape of the pastry during baking.

- Fill the cavity with dry baking beans (I prefer rice).
- Bake one notch below the center of your oven for 35 minutes, turning after 15 minutes.
- Remove from the oven and leave to stand (with foil and rice still inside) for 10 minutes.
- Remove the foil and rice and proceed to fill with cheesecake filling. Bake again for as long as your cheesecake recipe states.
I trust that these simple an thorough steps will enable you to make your own amazing cheesecake pastry! Please let me know how you get on by using #philosophyofyum or even tagging me @philosophyofyum.
If you’re into Cheesecake you’ll love these related posts:
Perfect Baked Cheesecake | The Ultimate Guide!
Perfect Vanilla Baked Cheesecake Recipe
Chocolate Swirl Baked Cheesecake Recipe
Chat soon!
Aurelia


