

Salted Caramel – the Early Days…
The first time I made Salted Caramel, I was nothing short of terrified! Okay fine, I was terrified the first 3 times actually.
I pictured piping hot sugar landing on my hand and the pot then flying across the kitchen, smashing the window and landing on top of an unfortunate soul’s car.
In reality this NEVER happened and I can assure you that making Salted Caramel is really not hard at all!
It’s not a big deal and there’s nothing to be afraid of 🙂
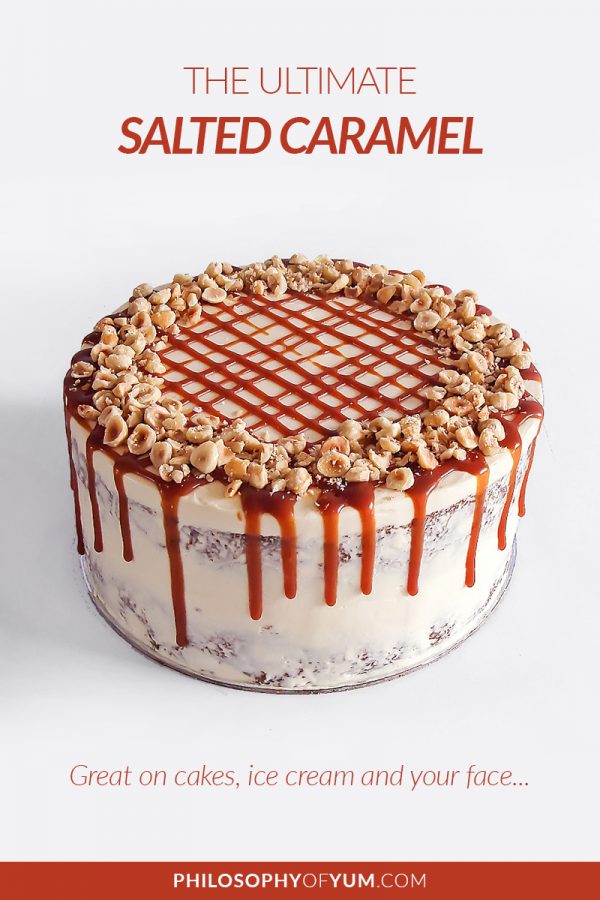
Plus, the flavour and texture is just to die for! Totally worth the effort. It also keeps for a very long time, so it’s easy to whip out and drizzle over ice cream, cakes and your finger.
If you are a first timer, however, do make sure your attention is fully committed to what you are doing.
Put about 20 minutes aside to focus on nothing other than making your Salted Caramel.
> Tie your hair up, wear an apron and have a bowl of cold water on standby – just in case.
Salted Caramel Techniques:
Swirl, don’t stir!
My sister and I had such a crush on James Martin in high school! He is a celebrity chef that was all over BBC Food shows like Ready Steady Cook and Sweet Baby James.
He always did the most incredible things with sugar and caramel as he had Pastry Chef training as well.
After about 2 months of just staring at him on cooking shows, the information he shared started penetrating through my googling eyes, into my brain! Haha!
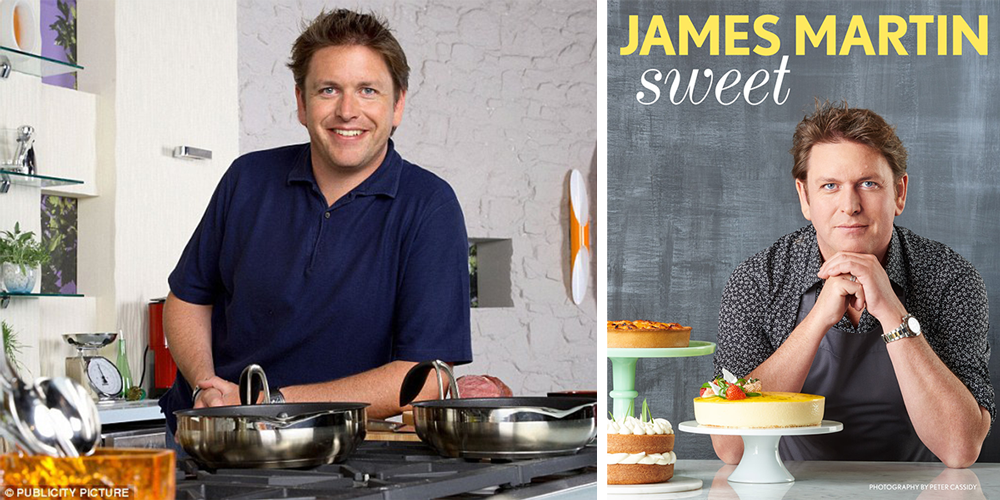
“Never, ever stir a caramel” he used to say in almost every episode he featured on. “It will clump together and become an unusable mess. Just swirl it around.”
Some folks do stir the sugar and water to help the sugar dissolve. You are welcome to do this, but swirling it is really quite sufficient, even in the beginning stages.
Using boiling water is the best way to help the sugar to dissolve faster.
Thermometer – yes or no?
Most Salted Caramel recipes insist on using a sugar thermometer.
According to other recipes the sugar will be the perfect colour at 150°C – this did not work at all. My sugar syrup was still only slightly coloured at this point.
I do own a thermometer that I use regularly for Italian meringue and other candies. However, it is not necessary to use a sugar thermometer for Salted Caramel.
> Go by colour, not temperature. You can take it too far and burn it, but just follow the method carefully and you will be fine.
Ultimate Salted Caramel Recipe
- 200 g granulated white sugar
- 60 ml water
- 125 ml whipping cream (between 35% - 40% fat)
- 50 g unsalted butter
- ½ tsp sea salt flakes OR ⅓ tsp fine sea salt
- Place sugar and water in a heavy based saucepan on medium heat.
- While the sugar is dissolving, place butter, cream and salt in a separate small saucepan on another burner over medium high heat. As soon as it starts to boil, turn the heat right down to its lowest setting just to keep it warm.
- Swirl the sugar and water mixture occasionally until the sugar is completely dissolved. Proceed to turn the heat up to medium high to bring sugar syrup to a steady boil. After a minute or so, turn the heat up to high (Out of my 6 heat settings, I put my stove on number 5).
- Watch the sugar like a hawk! Spots of colour will start to appear after anything from 7-10 minutes. Gently swirl the pan every now and then so the sugar doesn’t only caramelize in one spot.
- Keep cooking until traces of light smoke releases from the mixture and the sugar is a dark amber colour.
- Remove sugar from the heat and immediately pour in the warm cream mixture in four phases, continually whisking with a balloon whisk until fully combined. Return the caramel to medium heat and cook for another 2 minutes. *If you want to use it as a more pour-able sauce, don't return the pot to the stove for those 2 extra minutes.
In the next post you can get one of my ALL TIME favourite recipes to date – Salted Caramel Apple Blondies! Make them – they will change your life.
Chat soon!
Aurelia 🙂


Got a question? Something to add? Let’s chat in the comments section down below! (I respond to every single comment)


Trackbacks/Pingbacks